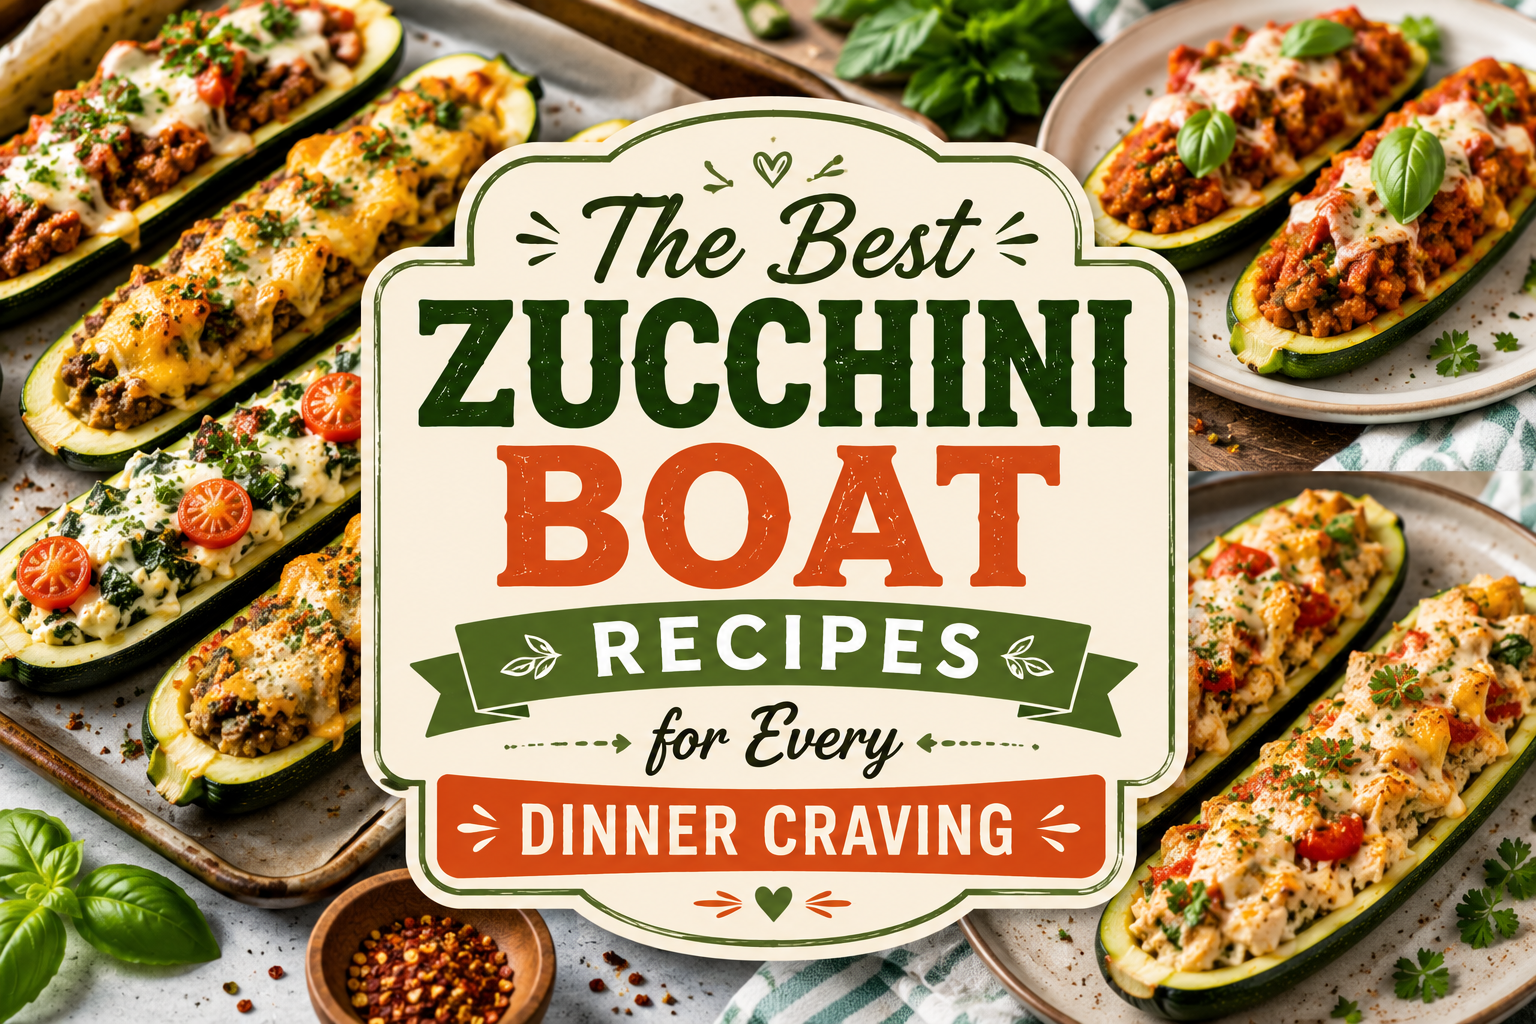
The Best Zucchini Boat Recipes for Every Dinner Craving
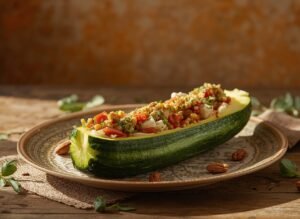
The zucchini boat is the weeknight dinner that makes you wonder why you ever needed pasta in the first place.
A hollowed zucchini half is structurally and practically a better vessel for a savory filling than most things you’d put it in. It holds its shape through 25 minutes of baking, it adds a vegetable component without requiring any separate side, and the slight moisture it releases during baking bastes the filling from the outside in a way that keeps even lean proteins like turkey and chicken breast genuinely juicy.
This article covers five complete zucchini boat recipes — the five fillings that Pinterest users save most: turkey, buffalo chicken, ground beef, cheesy sausage, and rice. Every recipe includes full ingredients with amounts and step-by-step instructions from prep through serving. Before the recipes, there’s one technique section that makes all of them work better — the moisture removal step that most recipes skip and that determines whether your zucchini boats hold their shape or turn into a watery mess.
The One Technique That Makes Every Zucchini Boat Better
Before the individual recipes, this technique section applies to all five fillings. Most zucchini boat recipes skip it. None of the good ones do.
Step 1 — Choose the Right Zucchini
Medium zucchini (7–9 inches long, about 200g each) are the ideal size. Too small and you don’t have enough wall thickness to hold a filling without collapsing. Too large (12 inches or more) and the flesh is seedy, watery, and flavorless. A medium zucchini has dense, flavorful flesh, thick enough walls to maintain structure after baking, and a cavity deep enough to hold a generous filling without overflowing.
Step 2 — Pre-Salt and Pre-Bake the Shells
After scooping the zucchini, most recipes go straight to filling them. The better approach: sprinkle the cut surface and cavity with salt, turn them cut-side down on a paper towel, and let them sit for 10 minutes. The salt draws out surface moisture that would otherwise pool in the bottom of the cavity and make the filling watery. Pat the shells completely dry before filling.
Then pre-bake the empty shells at 400°F (200°C) for 8 minutes before adding any filling. This partial cooking ensures the zucchini itself will be fully tender when the filling is done — without this step, fully cooked meat in a raw shell requires longer baking that dries out the filling. The 8-minute pre-bake solves the timing problem entirely.
Step 3 — Use the Scooped Flesh in the Filling
Don’t discard the flesh. Dice it finely and cook it into the filling — it adds flavor, moisture, and bulk while reducing food waste. The cooked zucchini flesh is essentially invisible in a filling; it blends in with the other ingredients while doing real work.
Step 4 — Pack the Filling Generously
A common mistake is under-filling zucchini boats, which produces a result that looks sparse and cooks dry. Pack the filling firmly, mounding it above the rim of the zucchini. The filling will settle during baking. A well-packed boat is both more impressive visually and better textured because the filling stays moist from the steam it generates inside the tight space.
“The zucchini boat is not a trick for hiding vegetables in dinner. It is a genuinely better vessel for a savory filling than most things you’d put it in.”
5 Zucchini Boat Recipes at a Glance
| # | Recipe | Protein | Heat Level | Best For |
|---|---|---|---|---|
| 1 | Turkey and Tomato | ~35g | Mild | Everyday weeknight |
| 2 | Buffalo Chicken | ~42g | Spicy | Game night, crowd pleaser |
| 3 | Ground Beef Italian | ~38g | Mild | Family dinner |
| 4 | Cheesy Sausage | ~30g | Mild-Med | Replaces pizza night |
| 5 | Rice and Vegetable | ~18g | Mild | Vegetarian option |
Master Prep Steps — Apply to All 5 Recipes
These steps are the same for every filling. Do these first, then proceed to whichever filling recipe you’re making.
- Preheat oven to 400°F (200°C). Line a 9×13 baking dish or large rimmed baking sheet with foil. Lightly grease with cooking spray or olive oil.
- Prepare the zucchini: Wash and dry 4 medium zucchini. Trim the stem ends and cut each zucchini in half lengthwise. Using a teaspoon or melon baller, scoop out the center flesh, leaving a firm ¼ to ½-inch wall all around. Reserve the scooped flesh — dice it and set aside. You’ll use it in the filling.
- Draw out moisture: Sprinkle the cut surface of each shell lightly with salt. Place cut-side down on paper towels for 10 minutes. Pat completely dry.
- Pre-bake shells: Place shells cut-side up in the prepared baking dish. Brush the inside of each shell with a thin layer of olive oil. Bake at 400°F for 8 minutes — they should be slightly softened but still hold their shape firmly. Remove from oven and proceed to filling.
- Make your chosen filling while the shells pre-bake — you want everything ready to go so you can fill and return to the oven immediately.
Recipe 1 — Turkey Zucchini Boats
Lean ground turkey with tomatoes, Italian seasoning, garlic, and melted mozzarella. The everyday weeknight version — light, filling, and genuinely satisfying without feeling like a diet meal.
~35g proteinLow CarbGluten Free
Filling Ingredients — Serves 4 (8 boat halves)
- 4 medium zucchini — prepared using Master Prep Steps above
- 400g (14 oz) lean ground turkey
- Scooped zucchini flesh, finely diced — from prep step
- 1 can (400g) diced tomatoes, drained well
- ½ onion, finely diced; 3 garlic cloves, minced
- 1 teaspoon Italian seasoning; ½ teaspoon smoked paprika
- Salt and pepper to taste; 1 tablespoon olive oil
- 1 cup (115g) shredded mozzarella; ¼ cup parmesan, grated; fresh basil to serve
Instructions
- Complete the Master Prep Steps. While the shells pre-bake, start the filling.
- Heat olive oil in a large skillet over medium-high heat. Add onion and cook 3 minutes until softened. Add garlic and cook 1 minute.
- Add ground turkey and break it up with a spoon. Cook 5–6 minutes until no pink remains. Add diced zucchini flesh and cook 2 more minutes.
- Add drained diced tomatoes, Italian seasoning, paprika, salt, and pepper. Stir and cook 3 minutes until most liquid has evaporated. The filling should be thick — not watery. If it looks wet, cook another 2 minutes uncovered.
- Remove pre-baked shells from oven. Spoon filling generously into each shell, mounding it slightly above the rim. Press down lightly to pack.
- Combine mozzarella and parmesan. Scatter generously over each boat.
- Return to oven and bake at 400°F for 18–20 minutes until cheese is golden and bubbling and zucchini is fully tender when pierced with a fork. Garnish with fresh torn basil leaves. Serve immediately from the baking dish.
Recipe 2 — Buffalo Chicken Zucchini Boats
Shredded chicken in buffalo sauce, cream cheese, and cheddar — the boat that stole dinner. The heat from the sauce is balanced by the cream cheese, and the zucchini provides a crisp, cooling contrast.
~42g proteinSpicyLow Carb
Filling Ingredients — Serves 4
- 4 medium zucchini — prepared using Master Prep Steps
- 400g (14 oz) cooked chicken breast, shredded (rotisserie works perfectly)
- ½ cup (120ml) buffalo hot sauce (Frank’s RedHot is the standard)
- 115g (4 oz) cream cheese, softened
- ½ cup (55g) shredded cheddar; ½ cup (55g) shredded mozzarella
- 2 stalks celery, very finely diced
- 2 green onions, sliced, divided
- Blue cheese or ranch dressing, crumbled blue cheese to serve
Instructions
- Complete the Master Prep Steps.
- In a large bowl, beat softened cream cheese until smooth. Add buffalo sauce and mix until fully combined.
- Add shredded chicken, diced celery, half the green onions, and half the shredded cheeses. Mix until everything is evenly coated in the buffalo cream cheese sauce.
- Pack filling generously into each pre-baked shell, mounding it above the rim. Top with the remaining shredded cheese.
- Bake at 400°F for 18–20 minutes until cheese is melted and beginning to brown at the edges and the zucchini is fully tender.
- Remove from oven. Top with remaining green onions and a drizzle of blue cheese or ranch dressing. Add crumbled blue cheese if using. Serve immediately — the cream cheese filling sets as it cools.
Heat control: For less heat, use ⅓ cup buffalo sauce and 1 tablespoon of butter stirred in. For more heat, add ½ teaspoon of cayenne to the filling before mixing.

Recipe 3 — Ground Beef Italian Zucchini Boats
Seasoned ground beef with marinara, Italian herbs, and provolone — this is the one that makes nobody miss the pasta. Filling enough to serve as a complete dinner without any side.
~38g proteinFamily Dinner
Filling Ingredients — Serves 4
- 4 medium zucchini — prepared using Master Prep Steps
- 450g (1 lb) lean ground beef (85%+)
- Scooped zucchini flesh, diced
- ¾ cup (180g) marinara sauce
- ½ onion, diced; 3 garlic cloves, minced; ½ red bell pepper, diced
- 1 teaspoon Italian seasoning; 1 teaspoon smoked paprika; ½ teaspoon fennel seeds (optional)
- Salt and pepper; 1 tablespoon olive oil
- 1 cup shredded provolone or mozzarella; fresh parsley to finish
Instructions
- Complete the Master Prep Steps.
- Heat olive oil in a large skillet over medium-high. Sauté onion and bell pepper 4 minutes. Add garlic, cook 1 minute.
- Add ground beef and cook, breaking it up, until browned — about 6 minutes. Drain excess fat. Add diced zucchini flesh, Italian seasoning, paprika, fennel seeds (if using), salt, and pepper. Cook 2 minutes.
- Add marinara sauce. Stir well and simmer 4 minutes until the filling is thick and saucy but not watery. Taste and adjust seasoning.
- Fill pre-baked shells generously. Top each with shredded provolone or mozzarella.
- Bake at 400°F for 18–20 minutes until cheese is melted and golden. Finish with fresh chopped parsley. Serve with a simple salad on the side.
🔗 More Zucchini Recipes
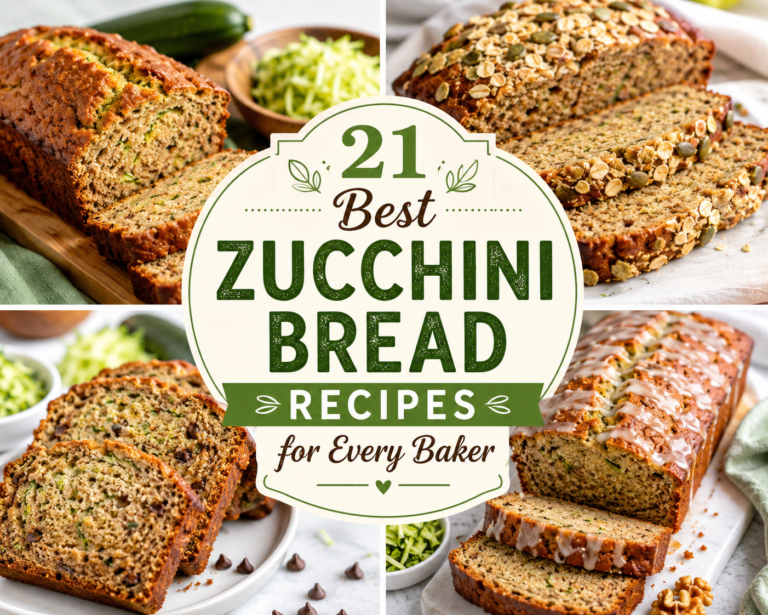
Love zucchini boats? See 20 more healthy zucchini recipes for every craving
Zucchini noodles, fritters, muffins, soups, stir-fries, chocolate muffins, shakshuka and more — 21 complete recipes with full instructions for every one.
Recipe 4 — Cheesy Sausage Zucchini Boats
Italian sausage, bell peppers, onions, and a thick layer of melted cheese — the boat that beats pizza night. The sausage is already seasoned, which means the filling comes together with almost no extra effort.
~30g proteinPizza Night Alternative
Filling Ingredients — Serves 4
- 4 medium zucchini — prepared using Master Prep Steps
- 400g Italian pork sausage, casings removed
- Scooped zucchini flesh, diced
- 1 red bell pepper, diced; ½ onion, diced; 3 garlic cloves, minced
- ½ cup (120g) marinara or pizza sauce
- 1 teaspoon dried oregano; ½ teaspoon red pepper flakes (optional)
- 1½ cups shredded pizza blend (mozzarella + provolone); fresh basil to finish
Instructions
- Complete the Master Prep Steps.
- Brown Italian sausage in a skillet over medium-high heat, breaking it up into small crumbles, about 5–6 minutes. Use a slotted spoon to transfer to a bowl, leaving fat in the pan.
- In the remaining fat, sauté onion and bell pepper 4 minutes. Add garlic, cook 1 minute. Add diced zucchini flesh and cook 2 minutes. Return sausage to pan.
- Add marinara, oregano, and red pepper flakes. Stir and cook 3 minutes until thick. Season with salt if needed (sausage is already salty — taste first).
- Spoon filling generously into pre-baked shells. Top with pizza blend cheese — be generous. This is the pizza night replacement, so the cheese layer matters.
- Bake at 400°F for 18–20 minutes until cheese is bubbly and has brown spots. Finish with fresh basil. Serve immediately.

Recipe 5 — Rice and Vegetable Zucchini Boats
A fully vegetarian filling of seasoned rice, black beans, corn, and cheese — hearty enough to stand alone as a complete dinner. The boat that makes everyone forget they’re eating vegetables instead of a grain bowl.
~18g proteinVegetarian
Filling Ingredients — Serves 4
- 4 medium zucchini — prepared using Master Prep Steps
- 1½ cups cooked rice (white, brown, or cilantro-lime rice)
- 1 can (400g) black beans, drained and rinsed
- 1 cup corn kernels (fresh, frozen-thawed, or canned)
- Scooped zucchini flesh, diced and sautéed briefly
- ½ cup (120g) salsa
- 1 teaspoon cumin; ½ teaspoon chili powder; salt to taste
- 1 cup shredded cheddar or pepper jack
- Sour cream or Greek yogurt, fresh cilantro, lime to serve
Instructions
- Complete the Master Prep Steps.
- Quickly sauté diced zucchini flesh in a teaspoon of olive oil for 2 minutes until slightly softened. Set aside.
- In a large bowl, combine cooked rice, black beans, corn, sautéed zucchini flesh, salsa, cumin, chili powder, and salt. Mix until combined. Taste and adjust seasoning — the mixture should be boldly seasoned since the zucchini shell will absorb some of the flavor.
- Spoon filling generously into pre-baked shells. Pack tightly. Top each with shredded cheese.
- Bake at 400°F for 18–20 minutes until cheese is melted and bubbling and the zucchini is fully tender.
- Remove from oven. Top with a dollop of sour cream or Greek yogurt, fresh cilantro, and a squeeze of lime. Serve immediately.
Cheese Guide — Which Cheese Works With Which Filling
| Filling | Best Cheese Choice | Why It Works |
|---|---|---|
| Turkey | Mozzarella + parmesan | Mild mozzarella melts clean; parmesan adds a savory crust |
| Buffalo Chicken | Cheddar + mozzarella | Sharp cheddar stands up to the buffalo heat; mozzarella gives the melt |
| Ground Beef | Provolone or mozzarella | Provolone has a mild sharpness that works well with marinara |
| Sausage | Pizza blend (mozzarella + provolone) | The pizza cheese blend gives the right stretch and browning pattern |
| Rice and Vegetable | Pepper jack or cheddar | Pepper jack adds heat that the mild rice filling needs; cheddar is more crowd-friendly |
Meal Prep and Storage
Make-Ahead Options
The filling for all five recipes can be made 2 days ahead and stored in the refrigerator. The zucchini shells can be scooped, salted, and dried up to 1 day ahead. Assemble and bake on the night you plan to eat — the assembled raw boats do not store well because the filling starts releasing moisture into the shell.
Storing Leftovers
Baked zucchini boats keep 3 days refrigerated in an airtight container. The zucchini softens further overnight — the texture on day 2 is noticeably softer than fresh from the oven, but the flavor is often better as the filling melds overnight. Reheat covered in the oven at 350°F for 12–15 minutes, or uncovered in the microwave for 2 minutes.
| Storage Method | Duration | Notes |
|---|---|---|
| Filling only (fridge) | 2 days | Best make-ahead strategy |
| Baked boats (fridge) | 3 days | Texture softens but flavor holds |
| Freezer (filling only) | 2 months | Freeze filling without zucchini; thaw and bake fresh |
Troubleshooting Zucchini Boats
| Problem | Cause | Fix |
|---|---|---|
| Watery filling in dish | Skipped pre-salting step or filling too wet | Salt and pat dry; cook filling until no visible liquid remains |
| Zucchini too soft | Over-baked or shells too thin | Leave ½-inch wall; check at 18 min; pull when just tender |
| Filling falling out | Under-filled or shells too shallow | Pack filling firmly; use larger zucchini next time |
| Cheese burnt before zucchini done | Skipped pre-baking shells | Always pre-bake 8 min — solves the timing problem completely |
| Bland flavor | Filling underseasoned before baking | Season filling aggressively — some flavor absorbs into zucchini |

⭐ Key Takeaways
- Pre-salt and pre-bake the shells — 10 minutes salted then 8 minutes in the oven before filling. This single two-part step is what separates professional-looking, structurally sound boats from soggy, collapsed ones.
- Leave a ½-inch wall when scooping — thinner walls collapse during baking. Use a teaspoon or melon baller and work carefully.
- Use the scooped flesh in the filling — it adds flavor and volume to every filling recipe. Do not discard it.
- Cook filling until thick before adding to shells — any excess liquid in the filling turns into steam inside the zucchini and makes everything watery. The filling should be thick enough to hold its shape when spooned.
- Pack filling generously above the rim — it settles during baking. Under-filled boats look sad and cook dry.
- The buffalo chicken version is the crowd-stopper — if you’re making these for guests, this is the one to make first.
- Filling freezes, boats don’t — make a double batch of filling and freeze half for next week. Bake with fresh zucchini on the night you serve.
Conclusion: Five Fillings, One Good Method, Zero Pasta Required
The zucchini boat is a better weeknight dinner format than most people give it credit for. It’s one dish that contains protein, vegetable, and satisfaction in a single serving — nothing else needs to be made alongside it unless you want to. The prep time is short, the technique is learnable from one batch, and the results look and taste like significantly more effort than 40 minutes.
Start with whichever filling matches what your family already loves: turkey and tomato for something universally approachable, buffalo chicken for the most memorable first impression, ground beef for the version that most completely replaces a pasta dinner. Once the technique is in your hands — the pre-salt, the pre-bake, the thick filling — every version comes out right.
Make them once. They’ll be in your regular rotation before the week is out.
“The best low-carb dinner is the one that nobody at the table identifies as a low-carb dinner. Zucchini boats, done correctly, are exactly that.”
Frequently Asked Questions

My name is Hamza Waheed, and I am an SEO expert with over 7+ years of experience in search engine optimization and the keto blogging industry. I specialize in creating SEO-driven content focused on keto recipes, low-carb living, and organic traffic growth. I combine technical SEO skills with practical health and nutrition content to deliver useful and engaging information for readers.