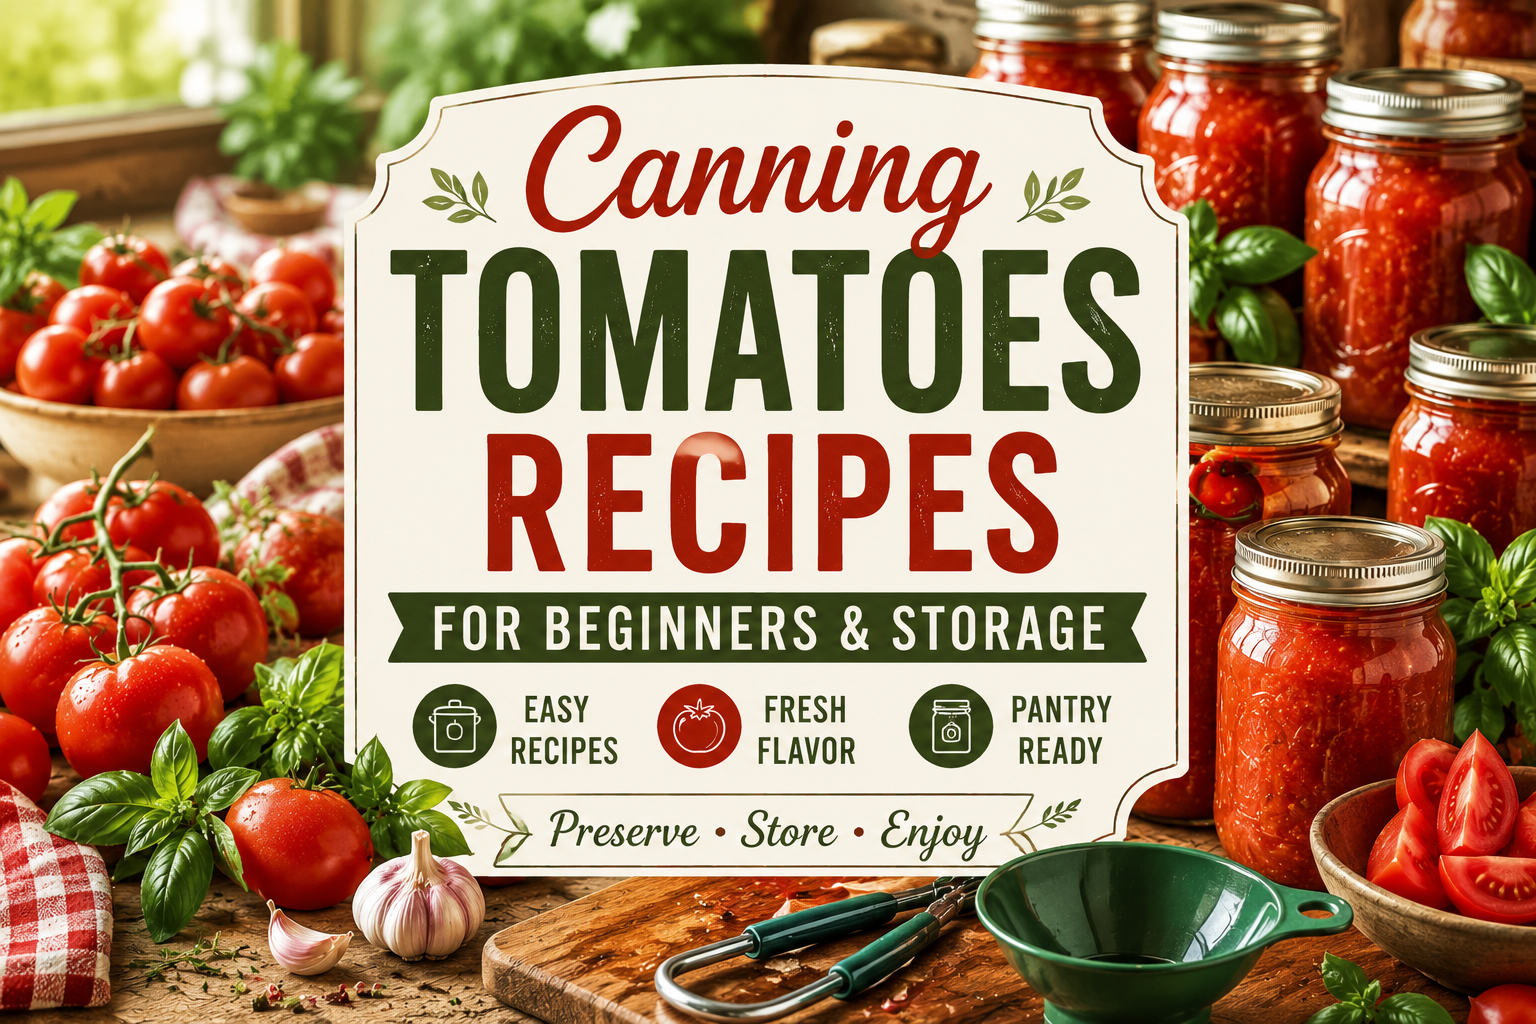
Canning Tomatoes Recipes for Beginners & Storage

Your Complete Step-by-Step Guide to Canning Fresh Garden Tomatoes
The first time you can tomatoes, the process feels like there are a lot of steps. There are — but each one is simple, and after your first session, the whole thing flows naturally. The method we use here is the water bath canning method, which is the USDA-recommended safe approach for high-acid foods like tomatoes. It requires no pressure cooker and is completely accessible to beginners.
Why Home Canning Tomatoes Is Worth It
Beyond the satisfaction factor, there are real practical reasons to learn canning tomatoes recipes:
- Cost: A 28 oz can of store-bought crushed tomatoes costs $2–4. A pound of garden tomatoes in season can cost under $0.50. A single canning session can produce 12–20 jars for a fraction of retail cost.
- Quality: Home-canned tomatoes are processed at the absolute peak of ripeness — something industrial canning never achieves. The flavor difference is unmistakable.
- Control: You know exactly what’s in the jar. No BPA linings, no added citric acid from industrial sources, no sodium beyond what you choose to add.
- Shelf life: Properly canned tomatoes store safely for 12–18 months at room temperature. No freezer space needed.
Equipment Checklist: What You Need Before You Start
| Equipment | Purpose | Essential? |
|---|---|---|
| Water bath canner or large stockpot | Processing jars safely in boiling water | ✅ Yes |
| Mason jars (quart or pint) | Storing the canned product | ✅ Yes |
| New lids (bands can be reused) | Creating an airtight seal | ✅ Yes |
| Jar lifter | Safely moving hot jars in and out of water | ✅ Yes |
| Canning funnel | Filling jars cleanly without mess | ⭐ Highly recommended |
| Bubble remover / thin spatula | Releasing trapped air bubbles from jars | ✅ Yes |
| Lemon juice or citric acid | Ensuring proper acidity for safe preservation | ✅ Yes (safety critical) |
Which Tomatoes Are Best for Canning?
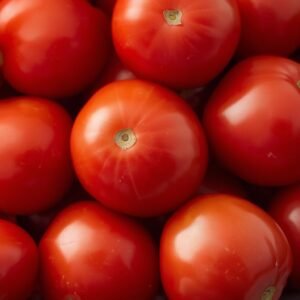
| Tomato Variety | Best For | Water Content | Rating |
|---|---|---|---|
| Roma / San Marzano | Sauce, paste, crushed, whole | Low ⭐ | ⭐⭐⭐⭐⭐ Best |
| Beefsteak | Whole tomatoes, juice | High | ⭐⭐⭐ Good |
| Amish Paste | Sauce, paste — exceptional flavor | Low ⭐ | ⭐⭐⭐⭐⭐ Best |
| Cherry Tomatoes | Salsa, whole packed, juice | Medium | ⭐⭐⭐⭐ Very Good |
| Heirloom varieties | Whole packs, specialty sauce | Variable | ⭐⭐⭐ Good (check acidity) |
“The single most important rule in canning tomatoes: always add acid. Tomatoes sit right at the borderline of safe acidity for water bath canning — adding bottled lemon juice or citric acid removes all doubt and keeps every jar safe.”
The Water Bath Canning Method — Full Step-by-Step Process
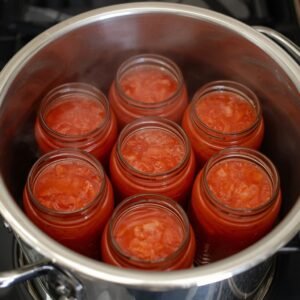
📋 Water Bath Canning Process (Applies to All Tomato Recipes Below)
- Sterilize your jars: Wash jars, lids, and bands in hot soapy water. Place jars in the canner, cover with water, and bring to a simmer (180°F / 82°C). Keep hot until ready to fill. Simmer lids in a small pan — do not boil.
- Prepare your tomatoes: Score an X on the bottom of each tomato. Blanch in boiling water 30–60 seconds until skin cracks. Transfer immediately to an ice bath. Peel skins off — they slide right off.
- Core and quarter: Remove core and any blemished spots. Quarter for crushed or sauce; leave whole for whole-pack recipes.
- Add acid to each jar: For quart jars, add 2 tablespoons bottled lemon juice OR ½ tsp citric acid per jar. For pint jars, use 1 tablespoon lemon juice or ¼ tsp citric acid. This step is not optional — it is a food safety requirement.
- Fill jars: Using a canning funnel, ladle hot tomatoes into hot jars. Press tomatoes down firmly with a wooden spoon to release juices and fill gaps. Leave ½ inch headspace at the top.
- Remove air bubbles: Slide a thin spatula or bubble remover around the inside edge of the jar to release any trapped air. Recheck headspace and add more tomatoes if needed.
- Wipe rims: Use a clean damp cloth to wipe the jar rim completely clean. Any residue will prevent a proper seal.
- Apply lids and bands: Place lid on jar, screw band to “fingertip tight” — snug but not cranked down hard. The band allows air to vent during processing.
- Process in water bath: Lower filled jars into canner using jar lifter. Water must cover jars by at least 1 inch. Bring to a full rolling boil. Process pint jars 35 minutes; quart jars 45 minutes (adjust for altitude — see table below).
- Remove and cool: Turn off heat. Remove lid and wait 5 minutes. Use jar lifter to remove jars without tilting. Place on a towel-covered counter, spacing jars 1 inch apart. Do not press the lids or move jars for 12–24 hours.
- Check seals: After 24 hours, press the center of each lid. It should not flex up and down. If sealed correctly, the lid will be concave and drum-tight. Refrigerate any unsealed jars and use within a week.
Altitude Adjustment Chart
| Altitude | Add to Processing Time | Pints / Quarts |
|---|---|---|
| 0 – 1,000 ft | No adjustment | 35 min / 45 min |
| 1,001 – 3,000 ft | +5 minutes | 40 min / 50 min |
| 3,001 – 6,000 ft | +10 minutes | 45 min / 55 min |
| Above 6,000 ft | +15 minutes | 50 min / 60 min |
The Best Canning Tomatoes Recipes Every Beginner Should Try First
Once you understand the water bath process, the recipes themselves are straightforward. The following three recipes are the most fundamental in home canning — and the most useful in everyday cooking. Whole peeled tomatoes are the most versatile; crushed tomatoes are the most used; tomato juice is the most overlooked but incredibly valuable. Start with one of these three before moving to sauce or salsa.
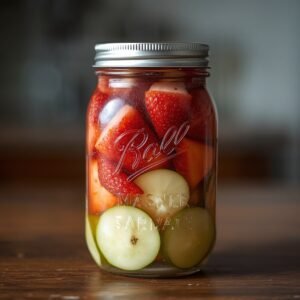
Recipe 1: Classic Whole Peeled Tomatoes
Makes: 4 quart jars | Prep: 45 min | Process: 45 min | Shelf Life: 18 months
Ingredients (per quart jar):
- 2–3 lbs ripe Roma or paste tomatoes
- 2 tbsp bottled lemon juice (or ½ tsp citric acid)
- 1 tsp canning salt (optional, for flavor only)
- Boiling water to fill jars (raw pack) OR tomato juice (hot pack)
Method:
- Blanch, peel, and core tomatoes using the process described above.
- Add lemon juice and salt to the bottom of each hot quart jar.
- Raw pack: Pack whole or halved tomatoes firmly into jars. Press down until juice rises to cover. Add boiling water if needed to reach ½ inch headspace. Hot pack: Heat tomatoes in their own juice 5 min, then ladle into jars — produces a denser, more compact pack.
- Remove air bubbles, wipe rims, apply lids. Process 45 minutes (quart) per the altitude chart.
Use these for: Any recipe calling for canned whole tomatoes — soups, stews, braises, pasta sauces. These are the most versatile jar in your pantry.
Recipe 2: Simple Crushed Tomatoes
Makes: 4 quart jars | Prep: 40 min | Process: 45 min
Ingredients (per quart jar):
- 2.5–3 lbs ripe tomatoes (any variety)
- 2 tbsp bottled lemon juice per quart
- 1 tsp canning salt (optional)
Method:
- Blanch, peel, and core tomatoes. Roughly crush with your hands or a potato masher into a large pot.
- Bring crushed tomatoes to a boil over medium-high heat, stirring constantly. Boil 5 minutes.
- Add lemon juice and salt to each hot jar. Ladle hot crushed tomatoes into jars, leaving ½ inch headspace.
- Remove bubbles, wipe rims, apply lids. Process quarts 45 min.
Use these for: Pizzas, pasta sauces, shakshuka, braised meats, soups — the workhorse of a canned tomato pantry.
Recipe 3: Basic Tomato Juice
Makes: 4 quart jars | Process: 40 min (quarts)
Ingredients:
- About 24 lbs tomatoes for 7 quarts of juice
- 2 tbsp lemon juice per quart (or ½ tsp citric acid)
- Salt to taste (optional)
Method:
- Quarter tomatoes (no need to peel for juice). Cook in a large pot until soft, about 20–30 minutes, stirring frequently.
- Run through a food mill or fine strainer to remove seeds and skins.
- Return juice to pot, heat to a boil. Add lemon juice and salt to each jar.
- Ladle hot juice into jars leaving ¼ inch headspace. Process 40 min (quarts).
Use for: Drinking, soups, rice cooking liquid, cocktails (Bloody Mary), braising liquid. Far more useful than most people realize.
Critical Safety Rules Every Beginner Must Know
- Always use bottled lemon juice, not fresh. Fresh lemon juice has variable acidity. Bottled lemon juice is standardized to the correct pH for safe preservation.
- Never skip the acid addition. Tomatoes are borderline acid. Without added acid, the environment inside the jar may not be safe for water bath canning.
- Use new lids every time. Bands can be reused but lids cannot — the sealing compound degrades after one use.
- Never use cracked, chipped, or vintage jars. Only purpose-made canning jars (Ball, Kerr, Bernardin) are designed to withstand the thermal stress of canning.
- If in doubt, throw it out. If a jar didn’t seal properly, or if you see mold, unusual color, spurting liquid, or off odors when opening — discard it without tasting.
Canning Tomatoes for Homemade Sauce, Salsa & Smart Pantry Storage
Once you’ve mastered the basics, sauce and salsa are where home canning becomes genuinely exciting. A jar of your own tomato sauce — made from tomatoes you grew, with herbs from your garden, processed at peak ripeness — is one of those things that changes how you cook permanently. These two recipes are where beginners become confident canners.
Homemade Canned Tomato Sauce (No Fillers, Pure Tomato)
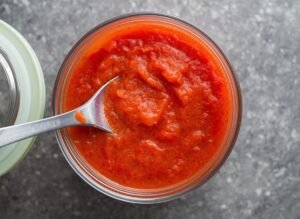
Makes: 9 pint jars | Prep: 1 hour | Cook: 1.5–2 hours | Process: 35 min (pints)
Important: This is a plain tomato sauce — no garlic, onion, or herbs added before canning. These additions lower acidity and require pressure canning. Add them fresh when you cook with the sauce. The USDA does not approve canning seasoned tomato sauce in a water bath.
Ingredients:
- 30 lbs fresh tomatoes (Roma strongly preferred)
- 1 tbsp bottled lemon juice per pint jar (2 tbsp per quart)
- 1 tsp canning salt per quart (optional)
Instructions:
- Blanch, peel, core, and quarter all tomatoes. Work in batches.
- Place quartered tomatoes in a large, heavy-bottomed pot. Crush the bottom layer to release liquid, then bring to a boil, stirring frequently.
- Reduce heat and simmer uncovered for 20 minutes, stirring often.
- Run tomatoes through a food mill or fine strainer to remove seeds and skins. Return strained sauce to pot.
- Reduce the sauce: Simmer uncovered over medium heat, stirring frequently, until sauce reaches your desired thickness — typically 60–90 minutes. The sauce should reduce by roughly half for a thick consistency.
- Add lemon juice to each hot pint jar. Ladle hot sauce in, leaving ¼ inch headspace.
- Remove bubbles, wipe rims, apply lids. Process pint jars 35 minutes.
Fresh Tomato Salsa for Canning (Tested & Safe Recipe)
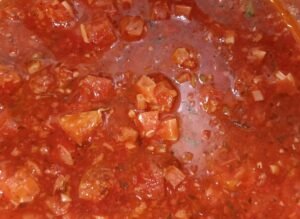
Makes: 6 pint jars | Process: 15 min (pints)
Safety note: Do not alter the proportions of vegetables in this recipe. The ratio of tomatoes to low-acid vegetables (onion, peppers) is specifically calculated for water bath safety. Adding more peppers or reducing tomatoes changes the pH and makes the recipe unsafe.
Ingredients:
- 7 cups peeled, cored, and diced tomatoes (about 4.5 lbs)
- 2 cups seeded and diced green bell pepper (about 2 large)
- 2 cups diced onion (about 2 medium)
- 1 cup diced jalapeño (about 6 medium — seeded for mild, unseeded for hot)
- 6 garlic cloves, minced
- 1 cup bottled lemon juice or 5% vinegar
- 2 tsp canning salt
- 2 tsp cumin, 2 tsp dried oregano, ½ tsp black pepper
- ½ cup chopped fresh cilantro (add at the very end — heat-sensitive)
Instructions:
- Combine all ingredients except cilantro in a large pot. Bring to a boil, stirring constantly.
- Reduce heat and simmer 10 minutes, stirring occasionally.
- Stir in cilantro. Remove from heat.
- Ladle into hot pint jars leaving ½ inch headspace. Remove bubbles, wipe rims, apply lids.
- Process in water bath 15 minutes for pint jars.
Pantry Storage Guide: How to Store & Use Your Canned Tomatoes
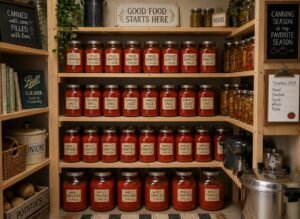
| Product | Shelf Life (sealed) | Once Opened | Best Used In |
|---|---|---|---|
| Whole tomatoes | 12–18 months | 5 days fridge | Stews, braises, pasta |
| Crushed tomatoes | 12–18 months | 5 days fridge | Pizza sauce, soups |
| Tomato sauce | 12–18 months | 4 days fridge | Pasta, pizza, shakshuka |
| Tomato juice | 12–18 months | 5 days fridge | Soups, cocktails, rice |
| Salsa | 12 months | 1 week fridge | Dipping, eggs, tacos, bowls |
5 Smart Pantry Storage Tips
- Store in a cool, dark location. Ideal temperature is 50–70°F (10–21°C). Heat and light degrade both flavor and nutritional quality over time.
- Remove the bands for storage. Leaving bands on can create false security — a jar may appear sealed while the band is holding a failed lid in place. Store lids band-free after the 24-hour cooling period.
- Label every jar. Write product name, date processed, and any special notes (e.g., “mild salsa” vs “hot”). Permanent marker on the lid or masking tape on the band both work well.
- Rotate your stock. Use the oldest jars first. Place new jars at the back of the shelf, older ones at the front.
- Trust your senses before using. Before opening any jar, check that the lid is concave and doesn’t flex. Upon opening, there should be a satisfying “pop” and no spurting, unusual odor, or visible mold.
🔑 Key Takeaways
- Always add acid. Bottled lemon juice or citric acid must be added to every jar of canned tomatoes — it is a non-negotiable food safety step, not optional flavor.
- Roma tomatoes are the canning standard. Low water content, thick walls, and rich flavor make them far superior to slicing tomatoes for any preserved product.
- Start simple. Whole peeled or crushed tomatoes are the easiest and most useful starting points. Master those before moving to sauce and salsa.
- Plain sauce only in water bath. Tomato sauce with garlic, onion, or herbs requires pressure canning. In a water bath, process plain sauce only and season when cooking.
- Never alter tested salsa recipes. The ratio of tomatoes to low-acid vegetables in salsa is calibrated for pH safety. Changing proportions changes the safety profile.
- Proper storage matters. Cool, dark, band-free storage labeled with dates maximizes quality and safety across the 12–18 month shelf life.
Conclusion: A Pantry You Built Yourself
There is a moment that happens to every home canner — usually somewhere around their second or third batch — where the process stops feeling like work and starts feeling like confidence. You understand what a proper seal sounds like. You know when your sauce has reduced enough. You trust your jars. That moment is when home canning becomes a skill you carry for life.
The recipes in this guide are the foundation: whole peeled tomatoes, crushed tomatoes, tomato juice, pure tomato sauce, and fresh salsa. These five products cover the vast majority of what any kitchen ever needs from a pantry. Fill your shelves with these and you’ll cook differently all year — with more confidence, more flavor, and the quiet satisfaction of knowing exactly what’s in every jar.
Start with one batch. Use a tested recipe. Follow the process. The results will speak for themselves — and they’ll keep speaking for the next 18 months every time you reach for a jar.
Frequently Asked Questions

My name is Hamza Waheed, and I am an SEO expert with over 7+ years of experience in search engine optimization and the keto blogging industry. I specialize in creating SEO-driven content focused on keto recipes, low-carb living, and organic traffic growth. I combine technical SEO skills with practical health and nutrition content to deliver useful and engaging information for readers.