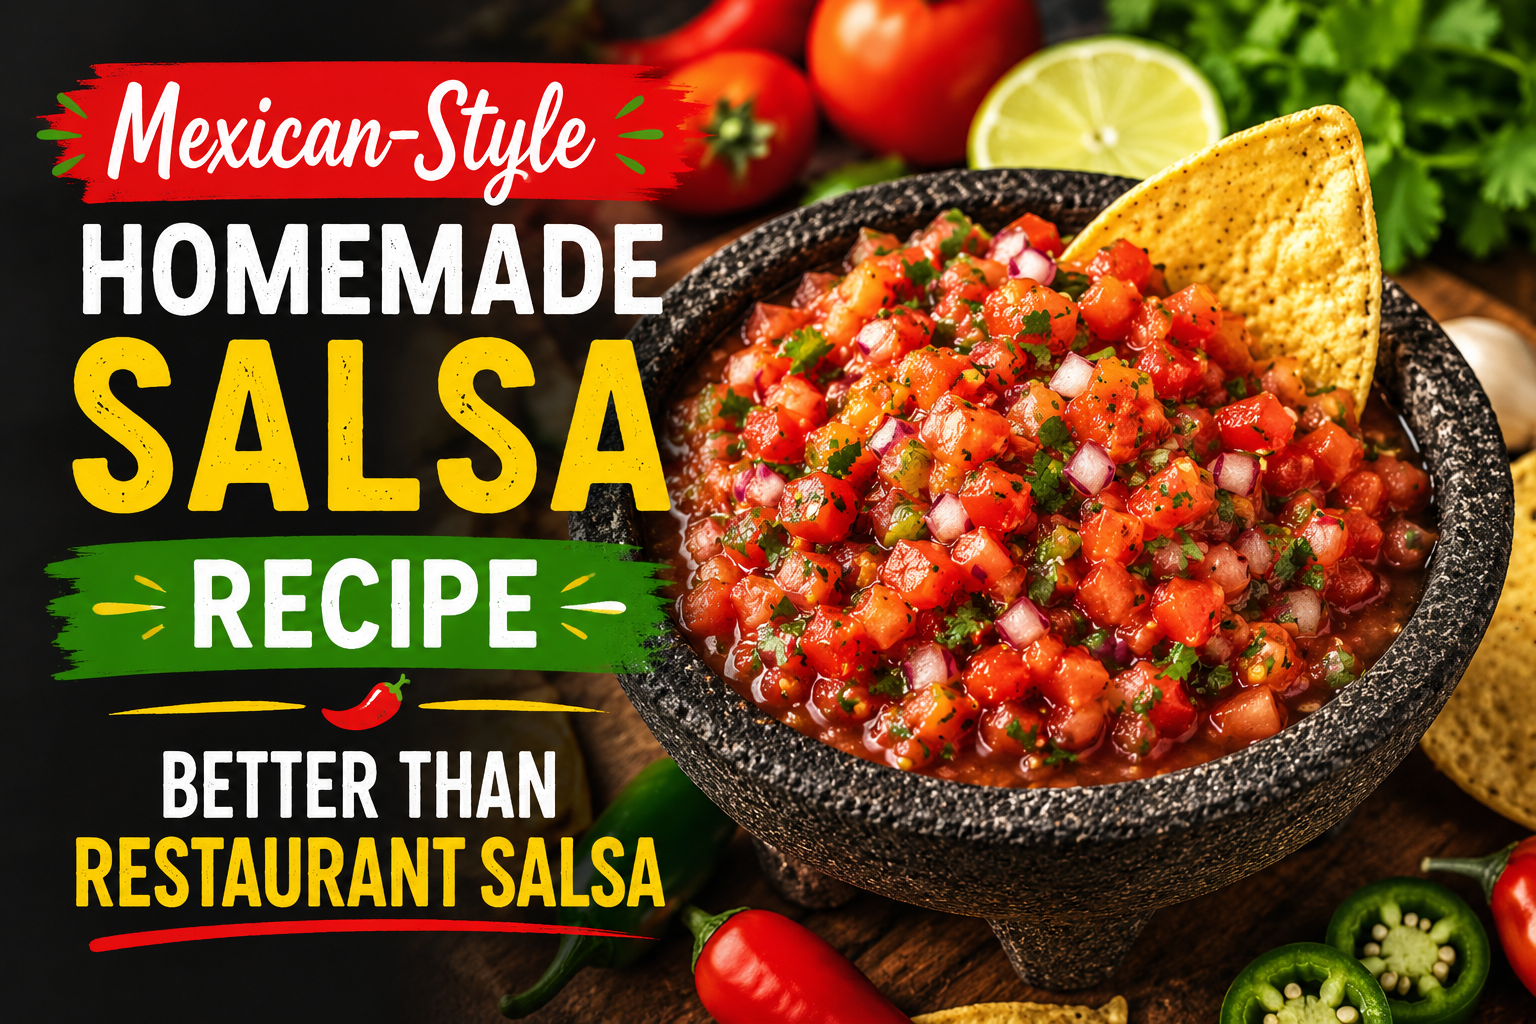
Mexican-Style Homemade Salsa Recipe Better Than Restaurant Salsa
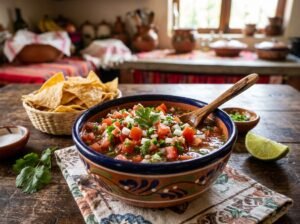
There’s a specific kind of salsa that shows up at the start of every great Mexican meal.
Smoky, a little sweet, a little sharp, with just enough heat to make you reach for another chip. Most people assume that flavor only comes from a restaurant kitchen — a special technique, a secret ingredient, something they can’t replicate at home.
It isn’t a secret. It’s fire-roasted canned tomatoes, a hot dry skillet, and a blender. That’s genuinely most of it. This recipe takes ten minutes from start to finish and produces a salsa that tastes like it came from a taqueria, not a kitchen counter.
Below is the complete recipe, the technique that makes the difference, a chunky variation for people who prefer texture over smoothness, and everything else you need to make this exactly right the first time.
Recipe at a Glance
| Prep Time | 10 minutes |
| Cook Time | 0 minutes (no stove needed) |
| Total Time | 10 minutes |
| Yield | About 3 cups |
| Skill Level | Beginner-friendly |
| Equipment | Blender or food processor, dry skillet |
“Real salsa flavor doesn’t come from a long ingredient list — it comes from one good technique applied to a short one.”
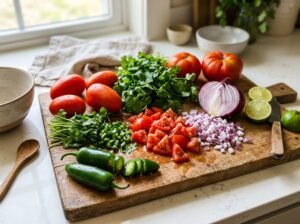
Why Fire-Roasted Tomatoes Make All the Difference
Most homemade salsa recipes start with raw fresh tomatoes, and the result is fine — but it tastes like a garden salad, not a restaurant salsa. Mexican restaurant-style salsa gets its signature depth from charring, whether that’s tomatoes blistered on a comal, roasted under a broiler, or — in the easiest version of this technique — canned fire-roasted tomatoes that already carry that smoky char built in.
Canned fire-roasted tomatoes are not a shortcut that sacrifices flavor. They’re picked and processed at peak ripeness, then charred and canned within hours, which often means more consistent flavor than fresh tomatoes that traveled days to reach a grocery store shelf. This is genuinely the ingredient that makes this recipe taste like it came from somewhere else.
The second piece of the technique is toasting the garlic and dried chiles (if using) in a dry skillet before blending. This is a classic Mexican cooking technique called tostar — toasting raw ingredients briefly over direct heat to deepen their flavor before they go into a sauce. It takes about 90 seconds and changes the entire character of the finished salsa.
Why Canned Tomatoes Aren’t Cheating
There’s a common assumption in home cooking that canned ingredients are automatically a downgrade from fresh. With tomatoes specifically, that assumption is often wrong. Tomatoes destined for canning are typically picked and processed within hours, at the exact peak of ripeness, locking in flavor that fresh tomatoes — which may sit in transit and on shelves for a week or more before reaching your kitchen — frequently can’t match outside of true peak summer season.
Fire-roasted varieties take this a step further by charring the tomatoes before canning, which is precisely the flavor most home cooks are trying to recreate when they roast fresh tomatoes themselves. Using the canned version isn’t a workaround — it’s using a product that’s already done the hardest part of the work, consistently, every single time you open a can.
A Quick Note on Where This Style of Salsa Comes From
Salsa roja made with charred tomatoes and toasted aromatics has roots in traditional Mexican cooking that predates blenders entirely — historically, ingredients were charred on a comal (a flat clay or metal griddle) and then ground by hand using a molcajete, a stone mortar and pestle. The blender simply replaced the grinding step; the charring technique that builds the actual flavor has stayed essentially unchanged for generations. Understanding this is part of why the toasting step in this recipe matters so much — it’s not a modern flourish, it’s the foundation the entire dish is built on.
🌶️ The Full Recipe: Mexican-Style Homemade Salsa
Ingredients
- 2 cans (14.5 oz each) fire-roasted diced tomatoes, undrained
- 3 garlic cloves, unpeeled
- 1 small white onion, quartered
- 1–2 jalapeños, stems removed (seeds in for more heat, removed for milder salsa)
- ½ cup fresh cilantro, roughly chopped (stems and leaves both)
- 1 tablespoon fresh lime juice
- ½ teaspoon ground cumin
- 1 teaspoon salt, plus more to taste
- Optional: ½ teaspoon sugar, to balance acidity if your tomatoes are very tart
Step-by-Step Instructions
- Toast the garlic and onion. Heat a dry skillet (no oil) over medium-high heat. Add the unpeeled garlic cloves and onion quarters. Toast for 4–5 minutes, turning occasionally, until the garlic skins are blackened in spots and the onion has charred edges. This step is what builds the restaurant-style depth — don’t skip it.
- Toast the jalapeños. Add the whole jalapeños to the same dry skillet. Toast for 3–4 minutes, turning occasionally, until the skin blisters and blackens in spots.
- Peel the garlic. Once cool enough to handle, squeeze the toasted garlic cloves out of their skins — they should slide out easily and smell deeply roasted.
- Combine in the blender. Add the fire-roasted tomatoes (with their juices), toasted garlic, toasted onion, toasted jalapeños, cilantro, lime juice, cumin, and salt to a blender or food processor.
- Pulse, don’t purée. Pulse in short bursts — 5 to 8 pulses — until the salsa reaches a slightly chunky consistency. Avoid running the blender continuously, which turns the salsa into a smooth purée and loses the texture that makes it feel homemade.
- Taste and adjust. Taste the salsa. Add more salt if it tastes flat, more lime juice if it needs brightness, or the optional sugar if the tomatoes taste sharp or overly acidic.
- Chill before serving. Transfer to a bowl or jar and refrigerate for at least 30 minutes before serving. The flavors continue to develop and meld as it sits — this salsa actually tastes better after an hour than it does straight out of the blender.
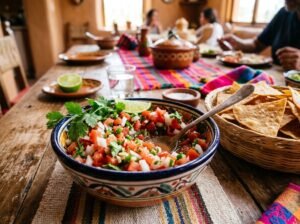
🍅 The Chunky Pico-Style Variation
If you prefer a thicker, chunkier salsa closer to fresh pico de gallo, this version skips the blender almost entirely and uses fresh tomatoes instead of canned. It’s a different texture and a slightly brighter, less smoky flavor — both are genuinely good, just different occasions.
Ingredients
- 4 large ripe roma tomatoes, finely diced and seeds removed
- ½ white onion, finely diced
- 1 jalapeño, very finely minced
- ½ cup fresh cilantro, finely chopped
- 2 garlic cloves, minced (raw, not toasted, for this version)
- Juice of 2 limes
- ¾ teaspoon salt, plus more to taste
Instructions
- Combine the diced tomatoes, onion, jalapeño, cilantro, and garlic in a mixing bowl.
- Add the lime juice and salt. Stir gently to combine without crushing the tomatoes.
- Taste and adjust salt and lime to your preference.
- Let it sit for 10–15 minutes at room temperature before serving to allow the flavors to come together. This version is best eaten the same day, since fresh tomatoes break down faster than the canned, fire-roasted version.
Why this version is different: Without the charring step, this salsa stays bright and fresh-tasting rather than smoky. It’s the better choice for topping tacos or grilled meat where you want a clean, sharp contrast rather than another layer of smokiness.
5 Mistakes That Make Homemade Salsa Taste Flat
1. Skipping the Charring Step
This is the single biggest difference between salsa that tastes homemade and salsa that tastes like a restaurant. Five minutes in a dry skillet is a small time investment for a significant flavor payoff — don’t skip it for the fire-roasted version.
2. Over-Blending
Running the blender continuously turns salsa into a thin, watery purée with no texture. Pulse in short bursts and check the consistency after every few pulses — you can always blend more, but you can’t undo over-blending.
3. Under-Salting
Salsa needs more salt than most people expect, because the volume of tomatoes and liquid dilutes it significantly. Taste after the first teaspoon, and don’t be afraid to add more in small increments until the flavors feel balanced rather than muted.
4. Serving It Immediately
Fresh-blended salsa tastes noticeably sharper and less cohesive than salsa that’s had even 30 minutes to rest in the fridge. The flavors need time to meld together — patience here makes a real difference.
5. Using Bland, Out-of-Season Fresh Tomatoes
This is exactly why the fire-roasted canned version exists in the first place. Fresh tomatoes that aren’t in peak season are watery and flavorless, no matter how much technique you apply. If your tomatoes don’t smell strongly of tomato when you cut into them, reach for the canned fire-roasted version instead.
Adjusting the Heat Level to Your Taste
Spice tolerance varies a lot from person to person, and this recipe is easy to adjust in either direction without changing anything else about the method.
| Heat Level | What to Change |
|---|---|
| Mild | Use 1 jalapeño, remove seeds and white ribs completely |
| Medium (as written) | 1–2 jalapeños with seeds in |
| Hot | Add 1 serrano pepper alongside the jalapeños |
| Very Hot | Replace jalapeños with 1–2 dried chiles de árbol, toasted and rehydrated |
Storing Homemade Salsa
- Refrigerator: The fire-roasted version keeps well in an airtight container for up to 7 days. The fresh pico-style version is best within 2–3 days, since raw tomatoes break down faster.
- Freezer: The fire-roasted version freezes well for up to 3 months in a freezer-safe container, leaving room at the top for expansion. The pico-style version does not freeze well — fresh tomatoes turn mushy and watery once thawed.
- Serving tip: If serving from the fridge, let the salsa sit at room temperature for about 10 minutes first — cold salsa straight from the fridge mutes the flavor noticeably.
What to Serve It With Beyond Chips
Tortilla chips are the obvious choice, but this salsa works well in plenty of other places too. Spoon it over scrambled eggs or breakfast tacos, use it as a base for chilaquiles, stir a few spoonfuls into guacamole for extra depth, or serve it alongside grilled chicken, steak, or fish as a fresh, zero-effort sauce.
Common Ingredient Substitutions
This recipe is flexible enough to accommodate what’s actually in your kitchen without losing its core character. If you’re out of fresh cilantro or simply don’t enjoy it, the salsa still works well without it — you’ll lose some brightness but the smoky tomato base carries the dish on its own. No fresh limes on hand? Bottled lime juice works in a pinch, though fresh always tastes noticeably brighter and is worth seeking out if possible. White onion is traditional for this style of salsa because of its sharper, cleaner bite compared to yellow onion, but yellow onion will still produce a good result if that’s what you have.
For the chiles, jalapeños are the most widely available option in most grocery stores, but serranos make an excellent substitute if you want more heat without changing the basic flavor profile much — they’re simply spicier versions of a similar pepper. If neither is available, a pinch of crushed red pepper flakes added to the blender can stand in, though it won’t replicate the fresh, vegetal heat that a real chile pepper provides.
Scaling This Recipe for a Crowd
This recipe doubles or triples easily for parties and gatherings — just toast the aromatics in batches if your skillet isn’t large enough to fit everything at once, since overcrowding the pan prevents proper charring and leads to steaming instead of toasting. Blend in batches too if your blender or food processor has a smaller capacity, then combine everything in one large bowl at the end and stir to even out the seasoning across the full batch.
Choosing Good Canned Fire-Roasted Tomatoes
Not every brand of fire-roasted tomatoes is equal. Check the ingredient list — it should be short, ideally just tomatoes, tomato juice, salt, and citric acid, without added sugars or excessive preservatives. Brands worth looking for at most grocery stores include Muir Glen and Hunt’s, both of which are widely available and consistently produce a good char without being overly sweet. If your store only carries plain (non-fire-roasted) diced tomatoes, you can still make this recipe — just plan on charring the garlic, onion, and jalapeños slightly longer to compensate for the smokiness the tomatoes would otherwise provide.
⭐ Key Takeaways
- Fire-roasted canned tomatoes are the real shortcut to restaurant-style flavor — they’re not a compromise.
- Toasting the garlic, onion, and chiles in a dry skillet for a few minutes is the single step that makes the biggest flavor difference.
- Pulse, don’t purée — short bursts in the blender keep the chunky texture that defines good salsa.
- Salsa needs more salt than feels intuitive, because the tomato volume dilutes seasoning quickly.
- Let it rest for at least 30 minutes before serving — the flavor genuinely improves as it sits.
- Use the fire-roasted version for smoky depth and longer storage, and the fresh pico-style version for bright, sharp flavor best eaten the same day.
Conclusion: You Don’t Need a Restaurant to Get This Flavor
The gap between homemade salsa and restaurant salsa was never about secret ingredients or professional equipment. It comes down to two things: starting with tomatoes that already carry real depth of flavor, and taking five extra minutes to char the aromatics before they hit the blender.
Both versions in this article — the smoky fire-roasted blend and the bright, chunky pico-style version — solve for different moments. Keep the fire-roasted version in your regular rotation for chip dipping and meal toppings that need to last the week. Make the fresh version when tomatoes are at their peak and you want something that tastes like it was made five minutes ago, because it was.
Either way, this is the kind of recipe that gets requested again once people taste it. Make a double batch — it goes fast.
“Good salsa isn’t about more ingredients. It’s about treating a few good ones the right way.”
Frequently Asked Questions

My name is Hamza Waheed, and I am an SEO expert with over 7+ years of experience in search engine optimization and the keto blogging industry. I specialize in creating SEO-driven content focused on keto recipes, low-carb living, and organic traffic growth. I combine technical SEO skills with practical health and nutrition content to deliver useful and engaging information for readers.