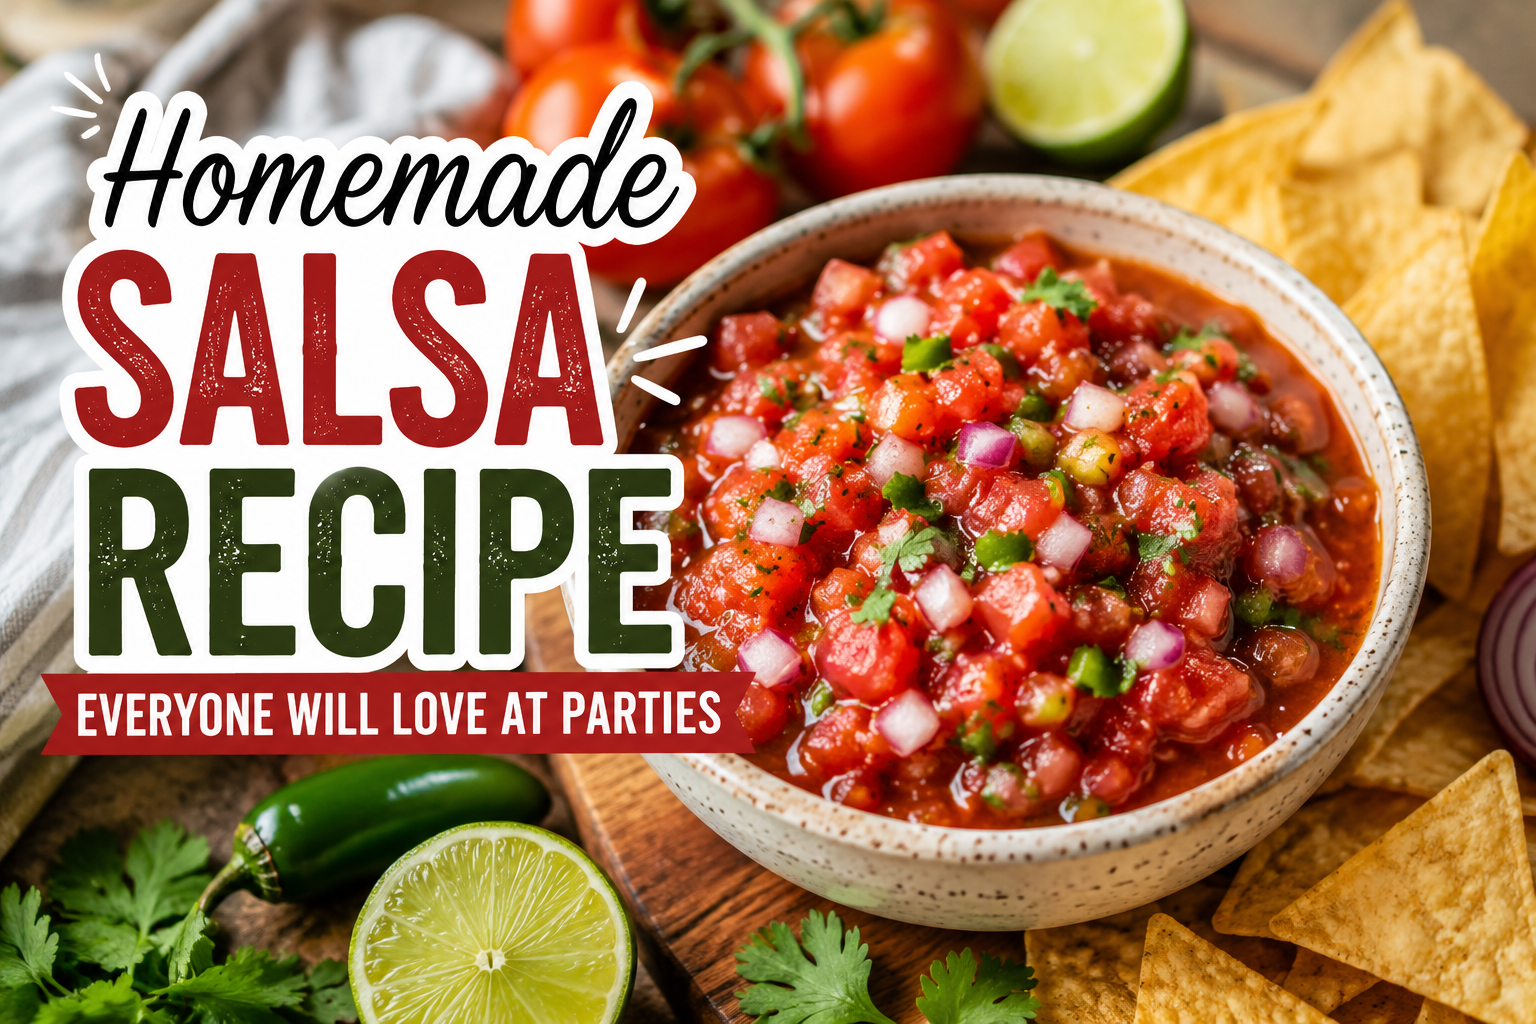
Homemade Salsa Recipe Everyone Will Love at Parties
Every party has a salsa. Not every party has a salsa people actually talk about.
The difference is almost never the quality of the tomatoes. It’s the technique. Most homemade salsa recipes skip the one step that restaurant kitchens never skip — charring the aromatics before blending. Raw garlic, raw onion, and raw jalapeño thrown straight into a blender produce a salsa that tastes sharp, thin, and flat. The same ingredients charred in a dry skillet first produce something smoky, sweet, and complex — the kind of salsa people scoop up and immediately ask what restaurant it came from.
This recipe gives you that result in 15 minutes, with no special equipment, and from ingredients you can get anywhere. It scales up easily for a crowd, keeps for a full week in the fridge, and freezes perfectly for up to three months.
The One Technique That Makes This Salsa Different
Before the recipe itself, this technique is worth understanding — because it’s the reason this salsa tastes the way it does and every raw-ingredient blender salsa doesn’t.
Dry Toasting (Charring in a Skillet)
Place unpeeled garlic cloves, quartered onion, and whole jalapeños directly into a dry skillet — no oil — over medium-high heat. Press them against the surface and let them sit undisturbed until the underside chars and blackens in spots. Then turn and repeat. The blackening is not burning. It is the Maillard reaction and caramelization happening simultaneously on the surface of each ingredient, creating dozens of new flavor compounds that don’t exist in the raw versions.
The garlic sweetens and loses its sharp bite. The onion becomes silky and mellow. The jalapeño develops a smoky, slightly fruity depth that fresh jalapeño never has. When all three hit the blender together, the result tastes like a salsa that took an hour. It took five minutes.
Fire-Roasted Canned Tomatoes vs. Fresh
For a party salsa made anytime of year, fire-roasted canned tomatoes are the correct choice — not fresh. Here’s why: canned fire-roasted tomatoes are picked and processed at peak ripeness, then charred during the canning process. A fresh tomato bought in January or February from a supermarket is picked underripe and ripened artificially during transport. It will never have the sweetness, acidity, or depth of a properly ripe tomato — and no amount of technique will fix that. Use canned fire-roasted tomatoes year-round. In peak summer when your local tomatoes are genuinely ripe, fresh is worth it. Otherwise, the can wins.
“The salsa that disappears first at every party is not made with better tomatoes. It is made with charred aromatics, good acid balance, and the patience to let it rest before serving.”
The Master Party Salsa Recipe
Ingredients — Serves 10 to 12
Main Ingredients
- 2 cans (14.5 oz / 411g each) fire-roasted diced tomatoes, undrained
- 4 garlic cloves, unpeeled
- 1 medium white onion, quartered
- 2 jalapeños, whole, stems removed
- ¾ cup fresh cilantro, leaves and tender stems
- Juice of 2 limes (about 3 tablespoons)
- 1 teaspoon ground cumin
- 1½ teaspoons fine salt, plus more to taste
- ½ teaspoon sugar (optional — balances acidity from the tomatoes)
For Serving
- Tortilla chips — restaurant-style thick chips hold up better than thin ones
- Extra lime wedges and fresh cilantro leaves
Step-by-Step Instructions
Heat the skillet and char the aromatics
Place a dry cast iron or heavy skillet over medium-high heat for 2 minutes. Add the unpeeled garlic cloves, onion quarters (cut-side down), and whole jalapeños. Press everything against the surface and cook undisturbed for 4–5 minutes until the underside is deeply blackened. Turn and cook another 4 minutes. The garlic skin will blister, the onion will char at the edges, and the jalapeño will develop dark spots all over. Remove everything and set aside to cool for 2–3 minutes.
Peel the garlic
Once slightly cooled, squeeze the garlic cloves out of their skins — they should pop out easily. Discard the skins. Leave the jalapeño whole for now; you’ll decide on seeds in the next step.
Decide on heat level, then blend
For medium heat: add the jalapeños whole to the blender. And mild: slice the jalapeños open and scrape out the seeds and white membrane before adding. For hot: add 3 jalapeños with seeds. Add the roasted garlic, charred onion, both cans of fire-roasted tomatoes (with all their juice), cilantro, lime juice, cumin, and salt to the blender.
Pulse — do not purée
Pulse the blender 6–10 times in short 1-second bursts. Stop and check the texture after each few pulses. The salsa should be slightly chunky — you want visible pieces of tomato and onion, not a smooth liquid. Over-blending makes salsa thin, frothy, and watery. Chunky is better than smooth every time. If using a food processor, the same rule applies — pulse, don’t run continuously.
Taste and adjust
This step cannot be skipped. Every batch of tomatoes is slightly different in sweetness and acidity. Taste the salsa and identify what it needs: flat? Add more salt. Sharp or acidic? Add the ½ teaspoon of sugar. Too mild? Add another jalapeño and re-pulse. Too spicy? Add another half can of tomatoes and re-pulse. The lime juice should be noticeable — bright and fresh. If you can’t taste it, add more.
Rest for 30 minutes before serving
Transfer to a bowl or jar, cover, and refrigerate for at least 30 minutes before serving. This step is not optional — salsa always tastes flat right after blending because the salt hasn’t had time to dissolve and distribute through the whole batch. After 30 minutes the flavors merge, the salt integrates, and the lime juice mellows slightly. The salsa will taste noticeably different and better after resting. Overnight in the fridge is even better.
How to Scale This Recipe for Any Party Size
This recipe serves 10–12 as an appetizer with chips. For a larger crowd, the recipe scales directly — just double or triple all ingredients. One practical note: blend in batches if multiplying. A blender overfilled with salsa spills, and the pulse technique doesn’t work properly when the jar is too full.
| Party Size | Cans of Tomatoes | Jalapeños | Garlic Cloves | Yield |
|---|---|---|---|---|
| 10–12 people | 2 cans | 2 | 4 | ~3 cups |
| 20–25 people | 4 cans | 4 | 8 | ~6 cups |
| 40–50 people | 8 cans | 8 | 16 | ~12 cups |
Party tip: Make the salsa the night before. It stores perfectly for 7 days and tastes significantly better after 12–24 hours in the fridge than it does fresh. This means zero morning-of stress — just pull it out of the fridge, let it come to room temp for 20 minutes, and set it out with chips.
What Every Ingredient Actually Does
Understanding why each ingredient is here means you can make smart decisions when substituting and know why the salsa isn’t working if something goes wrong.
| Ingredient | Role in the Recipe | What Happens Without It |
|---|---|---|
| Fire-roasted tomatoes | Base and body — sweetness + char flavor | Flat, thin, one-dimensional |
| Charred garlic | Sweet, mellow depth — no raw bite | Harsh, sharp garlic taste |
| Charred white onion | Savory backbone, sweetness from caramelizing | Raw onion sharpness dominates |
| Charred jalapeño | Smoky heat with fruity depth | One-note chemical heat |
| Fresh lime juice | Acid — lifts and brightens all other flavors | Heavy, dull, muddy taste |
| Cumin | Earthy warmth — the “Mexican restaurant” note | Less complex, more tomato-forward only |
| Cilantro | Fresh, herby brightness — cuts richness | Tastes cooked and heavy |
| Salt (generous) | Amplifies every other flavor — the most impactful ingredient | Flat, muted, tastes “not quite right” |
🔗 More Salsa Recipes
Want 11 different salsas — green, fruit, smoky, chunky, and ultra-hot?
Salsa verde, mango habanero, chile de árbol, chipotle, avocado salsa, pico de gallo, and six more — every one with a full recipe and the exact technique that makes it work.

6 Variations of This Same Base Recipe
The master recipe above is the foundation. These six variations all use the same charring technique and the same base structure — just with one or two key changes that produce a completely different salsa.
🔥 Extra Smoky Chipotle Version
Add 2 chipotle peppers in adobo sauce (from a can) to the blender along with 1 tablespoon of the adobo sauce. Skip one jalapeño. The chipotle adds a deep, campfire smokiness that regular charred jalapeño can’t fully replicate. This version is the crowd favourite at BBQs.
🥭 Mango Jalapeño Version
Add 1 ripe mango (peeled, diced) to the blender before pulsing. Reduce lime to 1 lime. The mango sweetens the salsa and balances the heat beautifully — pairs particularly well with fish tacos and grilled shrimp. Best served the same day.
🌿 Cilantro-Free Version
Omit cilantro completely — no substitute needed. Add an extra squeeze of lime juice and a pinch of dried oregano to compensate for the missing freshness. The salsa stands completely on its own without cilantro. This is the version for guests who can’t eat it.
🌶️ Habanero Version
Replace 1 jalapeño with ½ habanero pepper (seeded, charred separately). Habaneros are 10–40x hotter than jalapeños — start with half, taste after blending, and add more only if needed. Always wear gloves when handling habaneros. Label this bowl clearly at parties.
🍅 Fresh Tomato Summer Version
When local tomatoes are at peak summer ripeness, replace canned tomatoes with 8 large ripe roma tomatoes, halved and charred cut-side down under the broiler for 6 minutes until blistered. Use all the juice that collects on the pan. This version only works with genuinely ripe summer tomatoes.
🫘 Chunky Restaurant Style
After blending, stir in ½ cup of hand-diced fresh tomato, 2 tablespoons of finely diced white onion, and a small handful of torn cilantro. This hybrid method gives you the depth of a blended salsa with the texture of a fresh pico — the best of both worlds.
How to Serve Salsa at a Party — the Right Way
Chip Selection Matters More Than Most People Think
Thin, crispy chips break under the weight of a chunky salsa and leave half the salsa in the bowl. Restaurant-style thick tortilla chips are the right choice for a chunky salsa — they hold up, scoop cleanly, and don’t shatter in the bowl. If you can only find thin chips, make the salsa slightly smoother (a few extra pulses) so it clings to the chip rather than sitting on top of it.
Temperature at Serving
Salsa served straight from the fridge tastes noticeably more muted than salsa at room temperature — cold suppresses flavor perception significantly. Pull the salsa out of the fridge 20–30 minutes before guests arrive and let it come to room temperature. Then stir once and taste — it will likely need a small pinch of extra salt after resting cold overnight.
Set Up Multiple Small Bowls, Not One Large One
At a party of 20+ people, one large bowl of salsa creates a traffic jam around the chip table. Set out 3–4 smaller bowls in different spots around the food table and keep one or two in the fridge to replace them as they empty. This also keeps the salsa fresher — a smaller bowl gets replenished regularly rather than sitting out for three hours.

Multiple small bowls placed around the table keep the salsa accessible and always fresh.
Storage, Freezing and Make-Ahead Guide
| Method | How Long | Notes |
|---|---|---|
| Refrigerator (airtight jar) | 7 days | Flavors improve over first 24 hrs |
| Freezer (in containers or bags) | 3 months | Thaw overnight in fridge, stir before serving |
| Room temp (party serving) | 2 hours max | After 2 hrs, return to fridge and replace |
| Make-ahead (best window) | 12–24 hrs ahead | Peak flavour — this is the sweet spot |
Salsa Troubleshooting — Fix It Before the Party
| Problem | Cause | Fix |
|---|---|---|
| Tastes flat | Not enough salt or too little lime | Add ¼ tsp salt at a time, squeeze more lime |
| Too watery | Over-blended or tomatoes very wet | Drain through a sieve 10 min, reserve the juice |
| Too spicy | Too many seeds or too many chiles | Add another can of tomatoes and re-pulse |
| Too sour or sharp | Too much lime or very acidic tomatoes | Add ½ tsp sugar, stir well, taste again |
| Too smooth / no texture | Over-blended | Stir in hand-diced tomato and onion to fix |
| Bitter aftertaste | Garlic over-charred or jalapeño seeds bitter | Add lime juice + pinch of sugar; char less next time |
⭐ Key Takeaways
- Char the aromatics in a dry skillet first — this single step is what separates restaurant-quality salsa from everything else. Never skip it.
- Use fire-roasted canned tomatoes year-round — they outperform fresh supermarket tomatoes in every season except peak summer.
- Pulse, don’t blend continuously — 6–10 short pulses gives you texture. Continuous blending gives you tomato water.
- Always taste and adjust after blending — salt, lime, and heat level must be calibrated to your specific batch of tomatoes.
- Rest for at least 30 minutes — salsa tastes flat immediately after blending. Overnight in the fridge is even better.
- Make it the day before the party — the 12–24 hour window in the fridge is when the salsa tastes best. This also eliminates all same-day cooking stress.
- Multiple small bowls at room temperature outperform one large cold bowl at every party, every time.
Conclusion: One Recipe Worth Memorizing
Most party food is made and forgotten. Salsa done this way gets talked about. It’s the dish people photograph, ask about before leaving, and text you about the next day. Not because it’s complicated — the entire active cooking time is under 15 minutes — but because it uses a technique most home cooks don’t know about, and the result tastes like significantly more effort than it was.
The charred aromatics, the fire-roasted tomatoes, the rest time, the lime calibration — none of it is difficult. It just requires understanding what you’re doing and why. Once you’ve made it once, the process is muscle memory. Once you’ve served it at one party, it becomes the recipe people request for every party after.
Make a double batch the night before. Let it rest overnight. Pull it out 20 minutes before guests arrive. Watch it disappear before dinner starts.
“The best party food is the kind that looks effortless and tastes like it wasn’t. This salsa is exactly that.”
Frequently Asked Questions

My name is Hamza Waheed, and I am an SEO expert with over 7+ years of experience in search engine optimization and the keto blogging industry. I specialize in creating SEO-driven content focused on keto recipes, low-carb living, and organic traffic growth. I combine technical SEO skills with practical health and nutrition content to deliver useful and engaging information for readers.