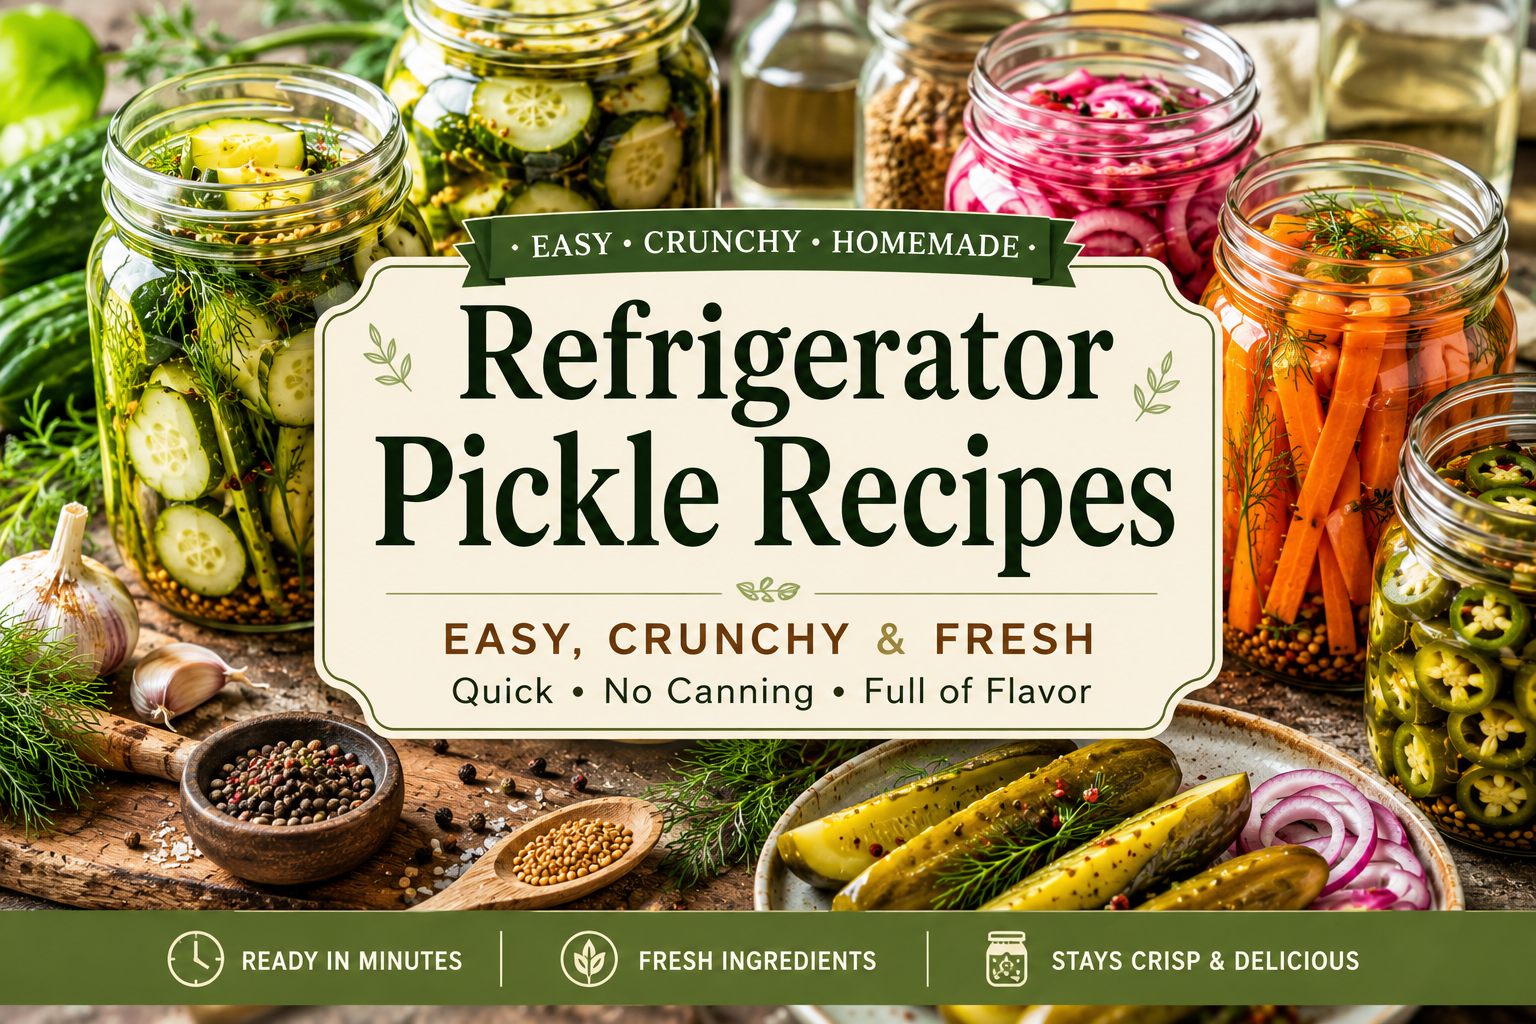
Refrigerator Pickle Recipes: Easy, Crunchy & Fresh
If you have ever bitten into a store-bought pickle and thought, “this could be so much better,” you are exactly right. Refrigerator pickle recipes are the easiest way to turn ordinary vegetables into crunchy, tangy, flavor-packed snacks — without a canner, without hours of boiling jars, and without any special skills. All you need is a pot, some vinegar, a few spices, and a spare jar sitting in your cupboard.
In this guide, you will find everything you need to know about refrigerator pickling: the science behind the crunch, the exact brine ratio that never fails, and four complete, detailed recipes you can start today. Whether you want classic dill pickles, something spicy, a sweeter bread-and-butter style, or quick pickled onions for your tacos, this article covers it all in plain, easy English so you can follow along without any confusion.
What Are Refrigerator Pickles?
Refrigerator pickles, sometimes called “quick pickles” or “fridge pickles,” are vegetables that have been soaked in a vinegar-based brine and stored in the fridge instead of being sealed through the traditional canning process. There is no boiling-water bath, no sterilizing dozens of jars, and no waiting weeks for the flavor to develop. The vinegar and salt in the brine do the preserving work for you, and the cold temperature of the fridge keeps everything safe and crisp.
This method has become incredibly popular for home cooks because it delivers the same tangy crunch as traditional pickles but in a fraction of the time. Most refrigerator pickle recipes are ready to eat within just 2 to 24 hours, and they taste even better after a few days as the flavors continue to soak in.

Why You Will Love Refrigerator Pickling
There are plenty of reasons refrigerator pickle recipes have taken over home kitchens and food blogs everywhere. Here is a quick comparison of why this method beats traditional canning for most everyday cooks.
| Feature | Refrigerator Pickles | Traditional Canned Pickles |
|---|---|---|
| Time to make | 15–20 minutes active work | Several hours |
| Equipment needed | A pot and a clean jar | Canner, sterilized jars, tongs |
| Texture | Extra crunchy | Softer over time |
| Shelf life | 2–3 months (in fridge) | 1–2 years (unopened) |
| Beginner friendly | Very easy | Requires practice |
No Canning Equipment Required
You do not need a water-bath canner, jar lifter, or any specialty tools. A clean mason jar or even a repurposed pasta sauce jar works perfectly fine.
Ready Fast, Tastes Fresh
Because the vegetables are not cooked for long periods, they keep their natural color, nutrients, and satisfying crunch — something traditional canned pickles often lose.
Essential Ingredients & Equipment
Refrigerator pickling does not require a long shopping list. Here is everything you will need for nearly every recipe in this article:
- Fresh vegetables — cucumbers, carrots, onions, radishes, cauliflower, or green beans all work beautifully.
- Vinegar — white distilled vinegar or apple cider vinegar are the most common choices.
- Water — to balance the sharpness of the vinegar.
- Salt — plain kosher salt or pickling salt (avoid iodized table salt, as it can cloud the brine).
- Sugar — a small amount balances the acidity; you can reduce it for a less sweet pickle.
- Aromatics — garlic cloves, fresh dill, mustard seeds, black peppercorns, and bay leaves.
- Clean glass jars with tight lids — mason jars work great, but any jar with an airtight lid is fine.
- A small saucepan — for warming the brine so the salt and sugar dissolve completely.
The Basic Refrigerator Pickle Brine Ratio
Almost every refrigerator pickle recipe is built on the same foundation — a simple brine. Once you memorize this ratio, you can pickle almost anything sitting in your vegetable drawer.
| Ingredient | Amount |
|---|---|
| Vinegar (white or apple cider) | 1 cup |
| Water | 1 cup |
| Salt | 1 tablespoon |
| Sugar | 1 tablespoon (optional) |
This basic 1:1:1 ratio (vinegar, water, salt/sugar) is the backbone of every recipe below. Simply heat these together until dissolved, pour over your vegetables, and let the fridge do the rest.
“A good pickle is not about following a rigid recipe — it’s about balancing sour, salty, and a little sweet until it tastes like something you’d sneak a second bite of.” — a common saying among home picklers
4 Detailed Refrigerator Pickle Recipes
Below are four complete, tested-style recipes. Each one includes prep time, ingredients, and full step-by-step instructions so you can follow along without guessing.
Recipe 1: Classic Refrigerator Dill Pickles
Prep time: 20 minutes | Chill time: 24 hours | Makes: 1 quart jar

Ingredients:
- 4–5 small pickling cucumbers (or 2 regular cucumbers), sliced into spears or rounds
- 1 cup white vinegar
- 1 cup water
- 1 tablespoon kosher salt
- 1 teaspoon sugar
- 3 garlic cloves, smashed
- 1 bunch fresh dill (or 1 tablespoon dill seed)
- 1 teaspoon mustard seeds
- ½ teaspoon black peppercorns
- ¼ teaspoon red pepper flakes (optional, for a light kick)
Instructions:
- Wash the cucumbers thoroughly and slice off both ends — this helps them stay crunchy and prevents softening enzymes near the blossom end from spreading.
- Slice the cucumbers into spears, rounds, or leave them whole if they are small enough to fit your jar.
- Pack the cucumbers tightly into a clean quart-sized jar along with the garlic, dill, mustard seeds, peppercorns, and red pepper flakes.
- In a small saucepan, combine the vinegar, water, salt, and sugar. Heat over medium heat, stirring, until the salt and sugar completely dissolve. Do not let it boil for long — just until dissolved.
- Remove the brine from heat and let it cool for about 5 minutes.
- Carefully pour the warm brine over the cucumbers, making sure they are fully submerged. Leave about ½ inch of space at the top of the jar.
- Seal the jar tightly with its lid and let it cool to room temperature on the counter.
- Transfer the jar to the refrigerator and let it chill for at least 24 hours before tasting — though many people say the flavor is even better after 3 days.
Tip: For the crunchiest texture, use freshly picked cucumbers and avoid waxed supermarket cucumbers, as their skin can prevent the brine from soaking in evenly.
Recipe 2: Spicy Refrigerator Pickles
Prep time: 15 minutes | Chill time: 12–24 hours | Makes: 1 pint jar
If you like your pickles with a fiery bite, this version turns up the heat while keeping that same satisfying crunch.
Ingredients:
- 2 cups sliced cucumbers, carrots, or a mix of both
- 1 cup white vinegar
- ½ cup water
- 1 tablespoon salt
- 1 teaspoon sugar
- 2 fresh red or green chilies, sliced (adjust to taste)
- 1 teaspoon crushed red pepper flakes
- 2 garlic cloves, sliced thin
- ½ teaspoon whole coriander seeds
- ¼ teaspoon turmeric powder (adds color and warmth)
Instructions:
- Wash and slice your vegetables into thin rounds or matchsticks so the spicy brine can penetrate quickly.
- Layer the vegetables, sliced chilies, garlic, and coriander seeds into a clean jar.
- In a saucepan, combine the vinegar, water, salt, sugar, and turmeric. Warm gently until the salt and sugar dissolve completely.
- Stir in the red pepper flakes and let the brine simmer for 1 minute so the heat infuses fully.
- Pour the hot brine over the vegetables, making sure everything is completely covered.
- Let the jar cool at room temperature, then seal tightly.
- Refrigerate for at least 12 hours before serving; for a spicier, deeper flavor, wait a full 24 hours.
Tip: If you want a milder version, remove the chili seeds before slicing — most of the heat lives in the seeds and inner membrane.
Recipe 3: Sweet & Tangy Bread and Butter Pickles
Prep time: 20 minutes | Chill time: 24 hours | Makes: 1 quart jar

A jar of sweet and tangy pickles, perfect on sandwiches or straight from the fridge.
This style is famous for its slightly sweet, mellow flavor — perfect on sandwiches, burgers, or served alongside cheese and crackers.
Ingredients:
- 3 cucumbers, thinly sliced into rounds
- 1 small onion, thinly sliced
- 1 cup apple cider vinegar
- ¾ cup sugar
- 1 tablespoon salt
- 1 teaspoon mustard seeds
- ½ teaspoon celery seeds
- ¼ teaspoon ground turmeric
Instructions:
- Place the sliced cucumbers and onions in a colander, sprinkle with 1 teaspoon of salt, and let them sit for 30 minutes. This draws out excess water so your pickles stay crisp instead of watery.
- Rinse the cucumbers and onions briefly, then pat them dry with a clean towel.
- Pack the cucumbers and onions into a clean jar.
- In a saucepan, combine the vinegar, sugar, remaining salt, mustard seeds, celery seeds, and turmeric. Heat until the sugar and salt fully dissolve, stirring occasionally.
- Pour the warm brine over the cucumbers and onions, pressing down gently so everything is submerged.
- Let the jar cool on the counter, then seal with a tight lid.
- Refrigerate for at least 24 hours. The flavor becomes noticeably sweeter and more balanced after 2–3 days.
Tip: Salting the cucumbers first is the secret step most people skip — but it is what gives bread and butter pickles their signature crunch.
Recipe 4: Quick Pickled Red Onions
Prep time: 10 minutes | Chill time: 1–2 hours (ready fast!) | Makes: 1 pint jar

This is the fastest recipe on the list and a fantastic topping for tacos, salads, sandwiches, and rice bowls.
Ingredients:
- 1 large red onion, thinly sliced
- 1 cup white vinegar or apple cider vinegar
- ½ cup water
- 1 tablespoon sugar
- 1 teaspoon salt
- 1 garlic clove, smashed (optional)
- ½ teaspoon black peppercorns (optional)
Instructions:
- Slice the red onion as thinly and evenly as possible — a mandoline slicer makes this quick and consistent.
- Pack the onion slices tightly into a clean jar along with the garlic and peppercorns, if using.
- In a small saucepan, combine the vinegar, water, sugar, and salt. Heat until the sugar and salt dissolve completely, about 2 minutes.
- Pour the hot brine directly over the onions, making sure they are fully covered.
- Let the jar sit at room temperature for 15 minutes, then seal and refrigerate.
- The onions turn a bright pink color and are ready to eat in as little as 1 hour, though the flavor deepens after a few hours.
Tip: Thinner slices pickle faster and taste milder, while thicker slices keep more of the onion’s natural bite.
Tips for Extra Crunchy Pickles
- Use fresh, firm vegetables. Soft or slightly wilted cucumbers will never turn crunchy, no matter how long they sit in brine.
- Cut off the blossom end. This tiny piece of the cucumber contains an enzyme that speeds up softening.
- Add a grape leaf or a pinch of calcium chloride if you want extra insurance against sogginess — this is an old trick used by traditional picklers.
- Don’t skip the salting step for watery vegetables like zucchini or cucumbers — drawing out excess water keeps the texture firm.
- Keep the brine cold or just-warm when pouring, rather than boiling hot, to avoid softening delicate vegetables.
- Store jars upright and undisturbed in the coldest part of your refrigerator, not the door, where temperature fluctuates the most.
How Long Do Refrigerator Pickles Last?
Because refrigerator pickles are not sealed through pressure canning, they do not last as long as shelf-stable pickles — but they still keep well for weeks when stored properly.
| Pickle Type | Fridge Shelf Life |
|---|---|
| Classic dill pickles | 4–6 weeks |
| Spicy pickles | 3–4 weeks |
| Bread and butter pickles | 4–6 weeks |
| Pickled red onions | 2–3 weeks |
Always use a clean utensil (never fingers) when removing pickles from the jar, and make sure the vegetables stay fully submerged in brine to avoid spoilage.
Common Mistakes to Avoid
- Using iodized table salt — it can turn the brine cloudy and slightly alter the flavor. Stick to kosher or pickling salt.
- Overpacking the jar — vegetables need to be fully surrounded by brine, so don’t cram the jar so full that the liquid can’t circulate.
- Skipping the cooling step — pouring hot brine into a jar and sealing it immediately can create pressure and even crack glass jars.
- Not tasting the brine before pouring — a quick taste test lets you adjust the salt or sugar before it’s too late.
- Using old, soft vegetables — pickling cannot revive vegetables that have already lost their crunch.
Key Takeaways
- Refrigerator pickles need no canning equipment — just a jar, brine, and a fridge.
- The basic brine ratio is equal parts vinegar, water, and a tablespoon each of salt and sugar.
- Most pickles are ready in 12–24 hours, though flavor deepens over a few days.
- Fresh, firm vegetables and cold storage are the real secrets to a satisfying crunch.
- Refrigerator pickles typically last 3–6 weeks when stored properly and kept fully submerged in brine.
Conclusion
Refrigerator pickle recipes prove that you don’t need fancy equipment or hours in the kitchen to enjoy homemade, crunchy, flavor-packed pickles. With just a simple brine and whatever vegetables you have on hand, you can create dill pickles, spicy pickles, sweet bread and butter pickles, or tangy pickled onions — all ready within a day and lasting for weeks in your fridge. Once you try one of these recipes, store-bought pickles will be hard to go back to. Pick your favorite vegetable, mix up a quick brine, and let your refrigerator do the rest of the work.
Frequently Asked Questions
How long do refrigerator pickles need to sit before eating?
Most refrigerator pickles are ready in 12 to 24 hours, though some quick recipes like pickled onions can be eaten after just 1 hour. Flavor generally improves after 2–3 days.
Can I reuse the brine for a new batch of vegetables?
You can reuse brine once, but it will be slightly weaker in flavor. For the best crunch and taste, it’s better to make a fresh batch of brine each time.
Do refrigerator pickles need to be processed in a water bath?
No. That is the whole point of this method — the vinegar, salt, and cold storage keep the vegetables safe without any canning or processing.
Why did my pickles turn out soft instead of crunchy?
This usually happens when the vegetables were not fresh, the brine was poured in boiling hot, or the blossom end of the cucumber was left on. Try fresh produce and a slightly cooled brine next time.
Can I use apple cider vinegar instead of white vinegar?
Yes. Apple cider vinegar gives a slightly fruitier, milder flavor compared to the sharper taste of white distilled vinegar. Both work well in any recipe above.
What vegetables besides cucumbers can I pickle this way?
Carrots, red onions, radishes, green beans, cauliflower, and even jalapeños all pickle beautifully using the same basic brine ratio.

My name is Hamza Waheed, and I am an SEO expert with over 7+ years of experience in search engine optimization and the keto blogging industry. I specialize in creating SEO-driven content focused on keto recipes, low-carb living, and organic traffic growth. I combine technical SEO skills with practical health and nutrition content to deliver useful and engaging information for readers.